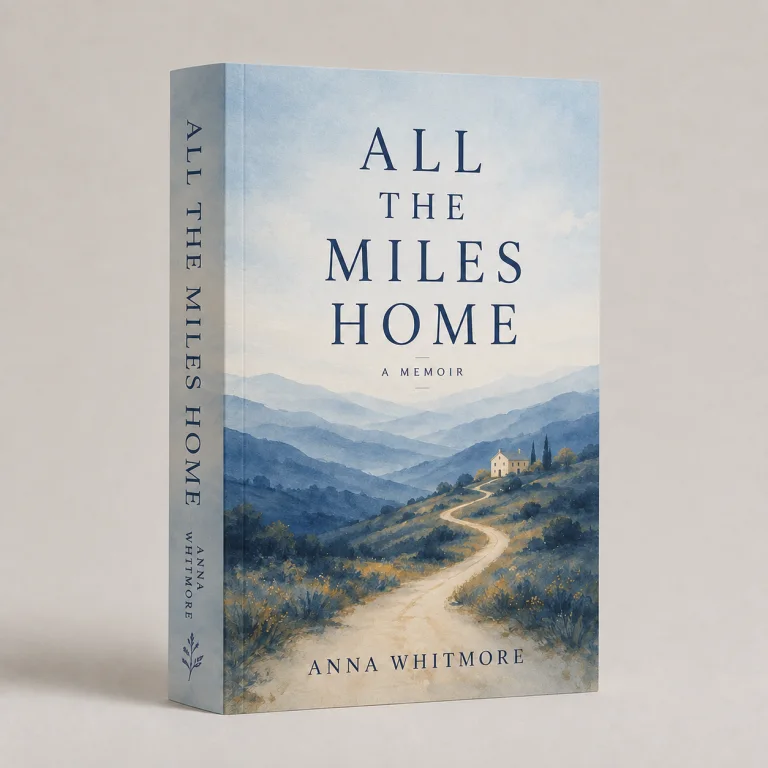
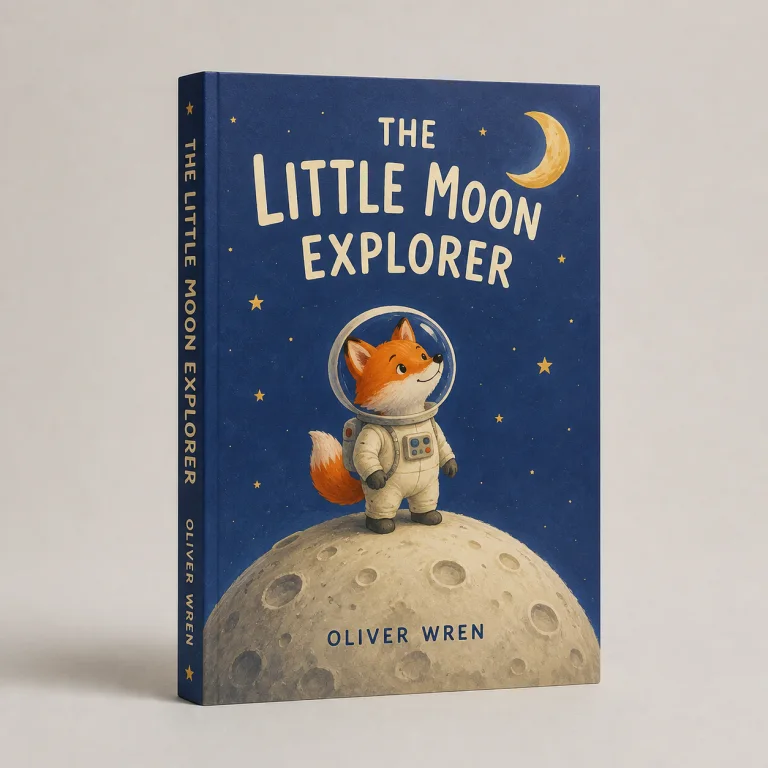
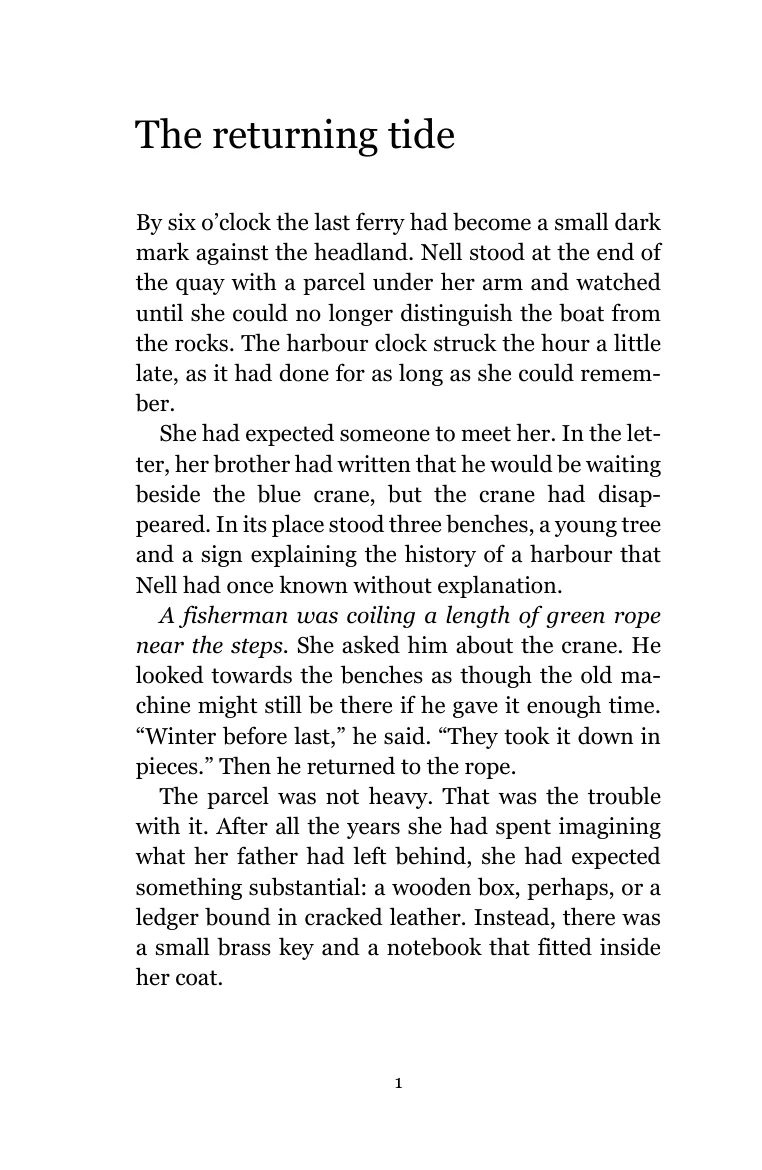
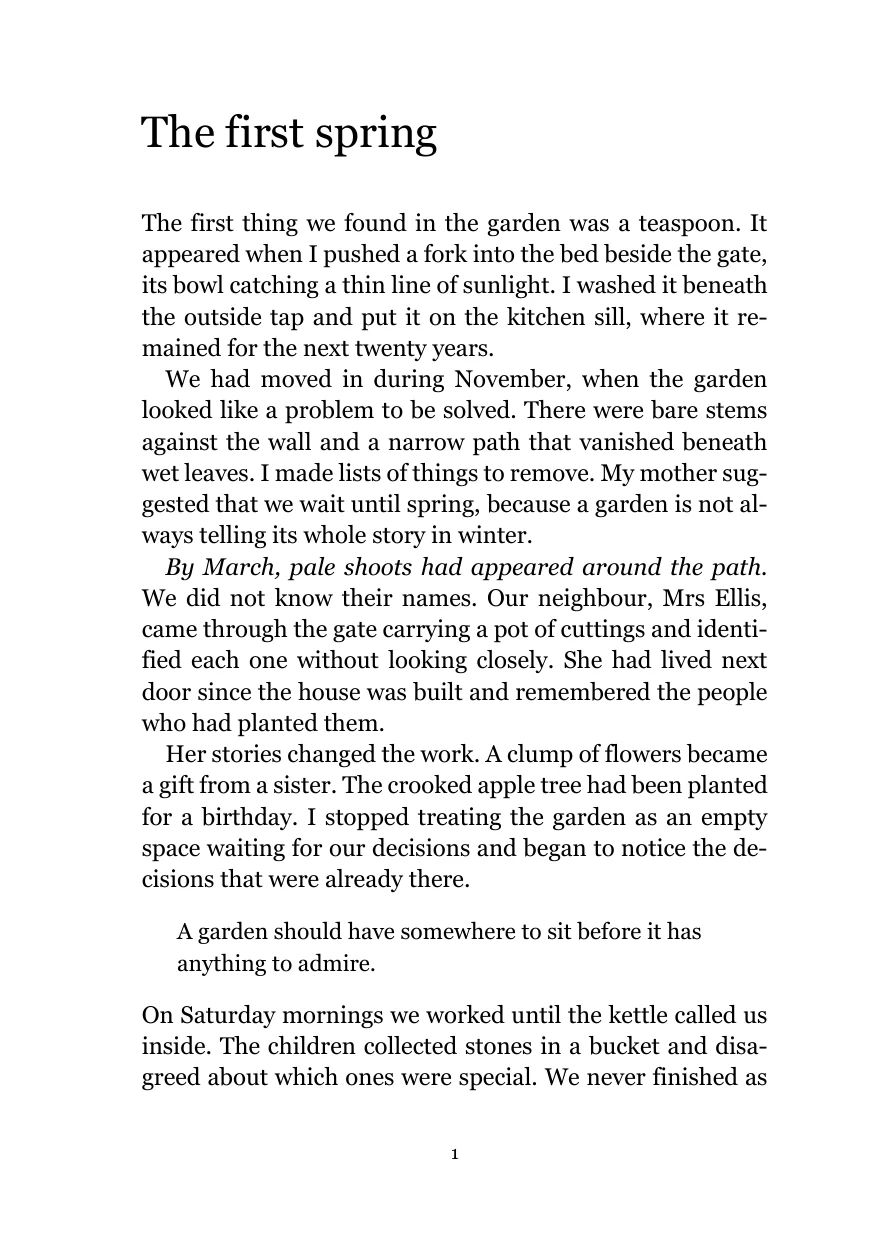
To format a book in Word, start with the finished page size, use consistent paragraph styles, separate the front matter from the numbered chapters and export a PDF for checking. Our free Word book templates have those foundations set up, so you can spend your time on the manuscript.
A head start for your manuscript
Start with a free
Word book template.
Free Word templates with page sizes, mirrored margins and chapter styles already set up.
Royal guide
156 × 234 mm · Guides and straightforward non-fiction
Free DOCX download · No sign-up needed
1. Choose your book size and save a copy
Choose B-format for a compact novel, A5 for a memoir or Royal for a guide with a contents page. Compare the sample PDFs before committing. Save the downloaded DOCX under your own filename, and keep your original manuscript separately.
This guide follows the desktop Word workflow checked on Windows. The templates suit novels, memoirs and straightforward non-fiction. Academic work must also follow your institution's requirements; complex tables, dense notes and illustrated layouts may need a more specialised approach.
| Template | Page size and margins |
|---|---|
| B-format novel | 129 × 198mm, width × height Inside / outside: 23 / 17mm Top / bottom: 18 / 22mm |
| A5 memoir | 148 × 210mm, width × height Inside / outside: 24 / 18mm Top / bottom: 18 / 22mm |
| Royal guide | 156 × 234mm, width × height Inside / outside: 24 / 20mm Top / bottom: 19 / 23mm |
These are the settings in version 1.0. Under Layout > Size > More Paper Sizes, Word may show centimetres: 129mm is 12.9cm. Each section must have the same finished page size. Use the book sizes guide if you are choosing a different format.
2. Understand the mirrored margins
Open Layout > Margins > Custom Margins. Mirrored margins put the larger inside margin at the binding edge of facing pages. The templates already include binding room in that inside margin and set the extra gutter to zero. Adding a gutter on top will make the inside space larger again.
The margins are starting points, not a promise for every thickness or binding. Review a thick manuscript with your printer before finalising it. These text layouts have white margins and no bleed; artwork that runs to the edge needs a separate bleed setup.
3. Bring in one chapter first
Replace the first example chapter before pasting the whole manuscript. Use Merge Formatting from Word's paste options, then apply the supplied paragraph styles. It usually retains local emphasis such as italics while adopting the destination formatting. Check a passage containing italics, bold and any accented characters against your original.
Keep Text Only removes formatting and non-text elements, so use it only when you intend to restore those details. Avoid copying section breaks from the old manuscript into the template. Microsoft explains the choices in its paste formatting guidance.
4. Apply styles instead of spacing by hand
Click in a paragraph and choose its style from Home > Styles. Open the Styles pane if a style is not visible in the ribbon. The template uses these names:
| Style | Use it for |
|---|---|
| Heading 1 (Chapter title) | Chapter headings. Starts a new page and appears in the Navigation pane. |
| First paragraph | The opening paragraph after a chapter title, subheading or scene break. No first-line indent. |
| Book text | Following paragraphs. A 4mm first-line indent is built in. |
| Heading 2 | Subheadings within a chapter. |
| Front heading | A preface or foreword heading, included in the Royal contents table. |
| Block quotation | A quotation set apart from the surrounding text. |
| Scene break | A centred scene marker, kept with the following paragraph. |
| List Bullet / List Number | Real lists, with automatic bullets or numbering. |
Pressing Enter after a chapter heading selects First paragraph; pressing Enter after that paragraph selects Book text. Do not add spaces or tabs to make an indent, and do not stack empty paragraphs to move a chapter onto a new page.
The files use Georgia at 11 or 11.5pt, depending on the format. To change the book's appearance, modify the relevant styles and review the whole PDF. Enlarging the font or line spacing changes both the page count and the balance of the page.
5. Keep chapter breaks and numbering intact
The half-title, full title, copyright and dedication pages have no printed numbers. The memoir and Royal templates use Roman numerals for their following prelims. An Odd Page section break starts the main text on a right-hand page, with Arabic page numbers restarting at 1. Later chapter headings start on the next page, which can be left or right.
Turn on Home > Show/Hide ¶ before removing example content so you can see page and section breaks. Keep the section break between the front matter and the first chapter. Deleting it can change the numbering, margins or footer links.
An odd-page section break can produce an intentional blank page. Keep it in the exported PDF if it is needed to preserve the right-hand opening, and include it in the total page count. If numbering goes wrong, check that the main footer is not linked to the prelims and that its page-number format is Arabic, starting at 1.
6. Complete the prelims and copyright page
The templates follow a conventional book sequence. The half-title contains the book title alone, followed by a blank verso. The full title page carries the title, subtitle and author, with the copyright page on its reverse. The optional dedication comes next. The novel then begins its chapters; the memoir adds an optional preface, and the Royal guide adds contents and a preface.
A preface is the author's introduction to the book. A foreword is normally written by someone else. Use only the sections that serve your readers. If adding a foreword in the numbered prelims, use Front heading for its heading and retain the Roman numbering. The Royal contents table includes this style. Acknowledgements and About the author are provided at the back and can be removed if unnecessary.
The copyright page begins Copyright © [Year] [Copyright holder] and provides fields for the publisher or imprint, edition, ISBN and contributor or permission credits. Complete only the fields that apply. Use your actual ISBN for that edition and format if you have one. The starter says All rights reserved; replace that line if you are using an open licence or another rights arrangement.
In the UK, copyright protection arises automatically; a notice is not an application or registration. The Intellectual Property Office's copyright guidance explains the use of the symbol, name and year. The layout does not grant permission to reuse someone else's work. Add the credits and permissions required for any material you include.
Replace every title, author and publication placeholder. Search for opening square brackets as well as the words Replace and Your before export. Remove the optional subtitle if it is not needed.
To remove the half-title, delete it and its blank verso together. To remove the dedication, delete its text and the manual page break immediately before it, keeping the following section break. To remove a whole optional preface, delete its heading, text and the section break at its end together, leaving the section break before it in place. Remove an unwanted back page with its heading and paragraphs. Turn on Show/Hide while editing and check the PDF afterwards.
In the Royal template, the contents table reads Heading 1, Heading 2 and Front heading. After changing headings or pagination, click in the table, choose Update Table and update the entire table. Check both the wording and the page numbers. Updating page numbers alone will not add a new heading.
7. Export a PDF for printing
Save your Word file, then use File > Export > Create PDF/XPS or Save As PDF. Choose Standard (publishing online and printing). Export the whole document as individual pages at the finished page size, keeping any intentional blanks. Check that the output contains the document you intend to print, without review markup.
Word's normal PDF export does not certify a PDF/X file. Check the finished PDF for the correct dimensions and embedded fonts, and resolve any font substitution or bitmap text before sending it. Microsoft's PDF export guidance explains the available options.
Read every exported page. Look for loose headings, awkward line endings, changed italics, missing text, unwanted blanks and page numbers too close to the edge. Save, close and reopen the working file, then export again if you make corrections.
8. Check the interior, then build the cover
Use the interior PDF checker for a first check of the file. Use the actual PDF page count, including front matter and blanks, when pricing the book and preparing the cover. The cover template generator needs that count together with the trim, paper and binding to calculate the spine.
Our paperback design tools help you create the outside. Before a full run, a printed proof gives you a chance to judge the reading size and binding margin on paper.
Still estimating the length?
The words to pages calculator gives an early planning estimate. It is not a prediction of these templates' exact pagination. Once your manuscript is laid out, use the exported PDF count for the quote and cover.